

Since the weather can be pretty chilly in the North West I was looking to find a way to bring the Tilly into the winter months. Although she looks adorable layered- I wanted to try her with a sleeve. I adore the sweet gathered look of the Brownie Goose Hattie sleeve (in the floral print below) and decided to try adding them to the Tilly (shown sleeveless in pink below).

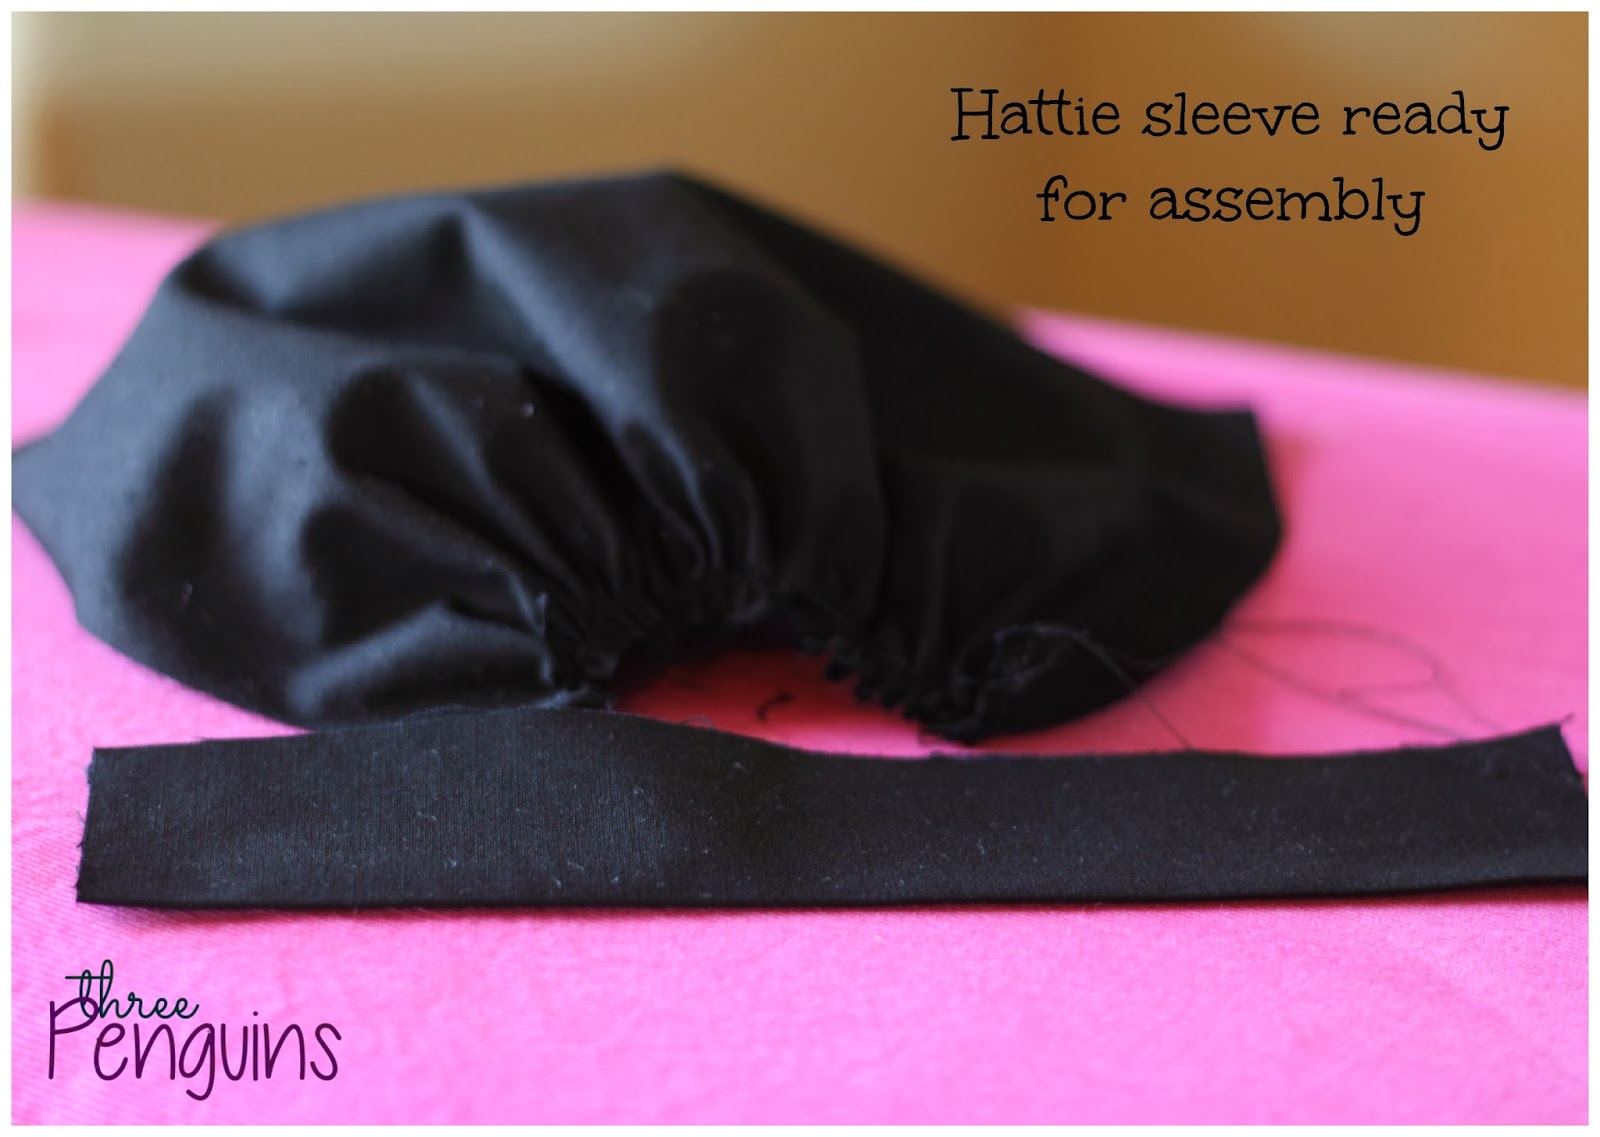
Once you have purchased both your Hattie and Tilly patterns from the Brownie Goose shop, Cut your Hattie sleeves per pattern and construct by gathering and attaching armbands:

Construct your bodice per
pattern and flip right sides out. Now I am sure that one of you brilliant
ladies can tell me how to get the sleeve sandwiched between my bodice and
lining layers but I just couldn’t figure it out this time… so once I flipped
right side out this was what my bodice looked like:

I then pinned my Hattie sleeve in place following along the opening of the Tilly bodice like so. Then stitch along this seam and serge the edges if desired and repeat for the other sleeve.

It should now look something like this:


Now pin the sleeves together and stitch starting at the arm bad and sewing down to the armpit.


Turn right side out and then following the directions for attaching a “closed” back skirt and you are done!

No comments:
Post a Comment