Friday, May 23, 2014

A little pattern testing for Brownie Goose- The Bay Dress & Top

I was super excited to have the opportunity to test for one of my most favorite pattern designers- Amy of Brownie Goose. I adore all of her patterns so much- head over to her shop and see all the cuteness she has to offer!


I tested the upcoming Bay dress and top in a size 3 for my almost three year old. It was a perfect fit! I chose to use Joel Dewberry Blockprint Blossom in Dandelion and it was a perfect complement to this pattern. I decided to use a soft pink for my lining just to give it a little twist. When doing the curved skirt option on this dress the skirt & bodice are both fully lined. It is a gorgeous dress inside and out! The pattern also includes the option of a straight skirt which can be left unlined if you are trying to conserve fabric. Amy also includes tips for making the skirt a little less full if you are trying to squeeze one out of a smaller amount of fabric.


That back just makes me swoon every time I see it! So sweet- set off by a two button closure for the empire waist version or a 4 button closure if you choose to do a drop waist. The pattern calls for functional buttons but I found I can slip this one on and off without even unbuttoning. So if buttonholes make you sweat then you can certainly give it a go with just stitching the bodice closed and adding your buttons for a decorative touch. I choose to do the empire waist simply because I only had two of these beautiful vintage buttons I found at a local antique mall.


I am so happy Spring has finally arrived here in the NW and can not wait to make some more of these beauties! The great news is that the Bay Pattern starts at a size 18 months and goes all the way up to a size 12! So we fortunately have many Bay summers to look forward to in our future!


After finishing this one up I couldn't help but give the top version a try... for this one I used a sweet white swiss dot with a touch of vintage lace on the flutter sleeves fully lined in a solid white.


I decided to pair it with a green chambray Darby short (another favorite pattern by Brownie Goose) with a touch of lace like the flutters. Such a sweet summer combo that would match so many pieces.


And just because I love this picture of my youngest two just as much as I love this new pattern! <3 <3 <3


The Bay top & dress are sure to make you a happy girl!


Monday, May 12, 2014

GYCT Tinley Tee Test!

I had the pleasure of testing this precious Tinley Tee from GYCT Designs loaded with so many options! I choose to do the Size 3, flutter sleeve with a regular double needle hem in a soft blue knit.
 

The pattern is fabulous and offers sooooo many options. You could create an entire wardrobe of shirts just from this pattern! Pattern pieces are nested- yeah for the trees- and easy to line up for cutting. There is also a printing guide included to save even more on paper by printing only the options you want!


This pattern ranges from 12 months to 12 years- so you can get many years of use from it! I am such a sucker for a flutter sleeve- but can't wait to try out some of the other sleeve options. The fit on this shirt is great! Please note this top was made from version 1 of the test pattern before the neckline was lowered just a tad to make it even more fabulous : ) 


Materials needed- really not a lot! Knit fabric (between 1/2 to 1 yard depending on size and options), elastic (only for cap sleeve), thread, ballpoint needle & optional double needle. Have I mentioned how much I love a double needle hem? I just love the finished look that it gives:


We paired our Tinley Tee with some Brownie Goose Darby's that were already in our closet... but I am also dying to try out GYCT's Love Me Knot Girl shorts. I think they would be adorable together!


Head on over to the GYCT Etsy shop or Craftsy and pick up your Tinley Tee Pattern while you can get it at a discount on Monday May 12 & Tuesday May 13th!
 

Monday, February 17, 2014

Millie Rose Double Ruffle Dress Pattern Test

 
I was tickled to be given my first opportunity to test a pattern this fall for the fabulous Millie Rose Patterns. I tested the Millie Rose Double Ruffle Dress PDF pattern and immediately fell in LOVE. The instructions were absolutely spot on and the results were fabulous! The dress looks much more complicated to make than it actually is!
 
I chose to use some bright fabrics for this one- a chambray for the bodice paired with shades of bright blue, yellow, green and hot pink!

 
Unfortunately our weather turned super windy and cold just as I finished it up so pictures were a little bit tough. She did enjoy a chat with this duck though!
 
It looks great from any angle in my opinion ; )

 
And I got to use one of these fabulous large personalized buttons from Pick Your Plum! Millie Rose also offers a fabulous tutorial on adding a button on flower that I didn't attempt on this one but hope to very soon!
 
 
This dress just makes you want to dance!
 
 
Looking forward to sewing up a few more of these as well as Millie Rose's other great patterns!


Wednesday, February 5, 2014

Magnetic board for toddler fun!


With three littles we somehow acquired a LOT of magnetic toys over the years. Different number and letter sets, dress up dolls, and animals (they are not all in this picture). When we moved I decided we needed a better place to put them all. Unfortunately, they only stick to the side of our stainless steel fridge and that left very little space. We had a perfect little half wall by the stairs to our playroom so I went out searching for just the right thing to fill that space. I found this 2 foot by 3 foot piece of sheet metal at Lowe's for less than $10! Score!


I then just took this piece of sheet metal down the street to our Hobby Lobby who happened to have ready made open back frames half price that week and had them pop this in and add a backing. Really, it was that easy! I just brought it home, added some hangers and stuck it on the wall and the kids were super excited!


I decided to choose a frame that I thought we could use elsewhere in our house once the kids outgrow this stage. I thought it would be functional in a future office or kitchen to hang pictures, invitations, artwork, notes, etc.

Another fun thing I did was copy their Melissa & Doug magnetic dress up sets so the pieces could be used on the board as well.

 
The original set comes with a magnetic "doll" that you can add the clothes to, but the doll itself would not stick to the magnet board so I stuck him on my printer and just made a color copy on cardstock. I then added a small adhesive magnet to the back of the paper and they are now able to play dress up on the board or on the figures.


Tuesday, February 4, 2014

Adding a Brownie Goose Hattie Sleeve to the Brownie Goose Tilly


Since the weather can be pretty chilly in the North West I was looking to find a way to bring the Tilly into the winter months. Although she looks adorable layered- I wanted to try her with a sleeve. I adore the sweet gathered look of the Brownie Goose Hattie sleeve (in the floral print below) and decided to try adding them to the Tilly (shown sleeveless in pink below).


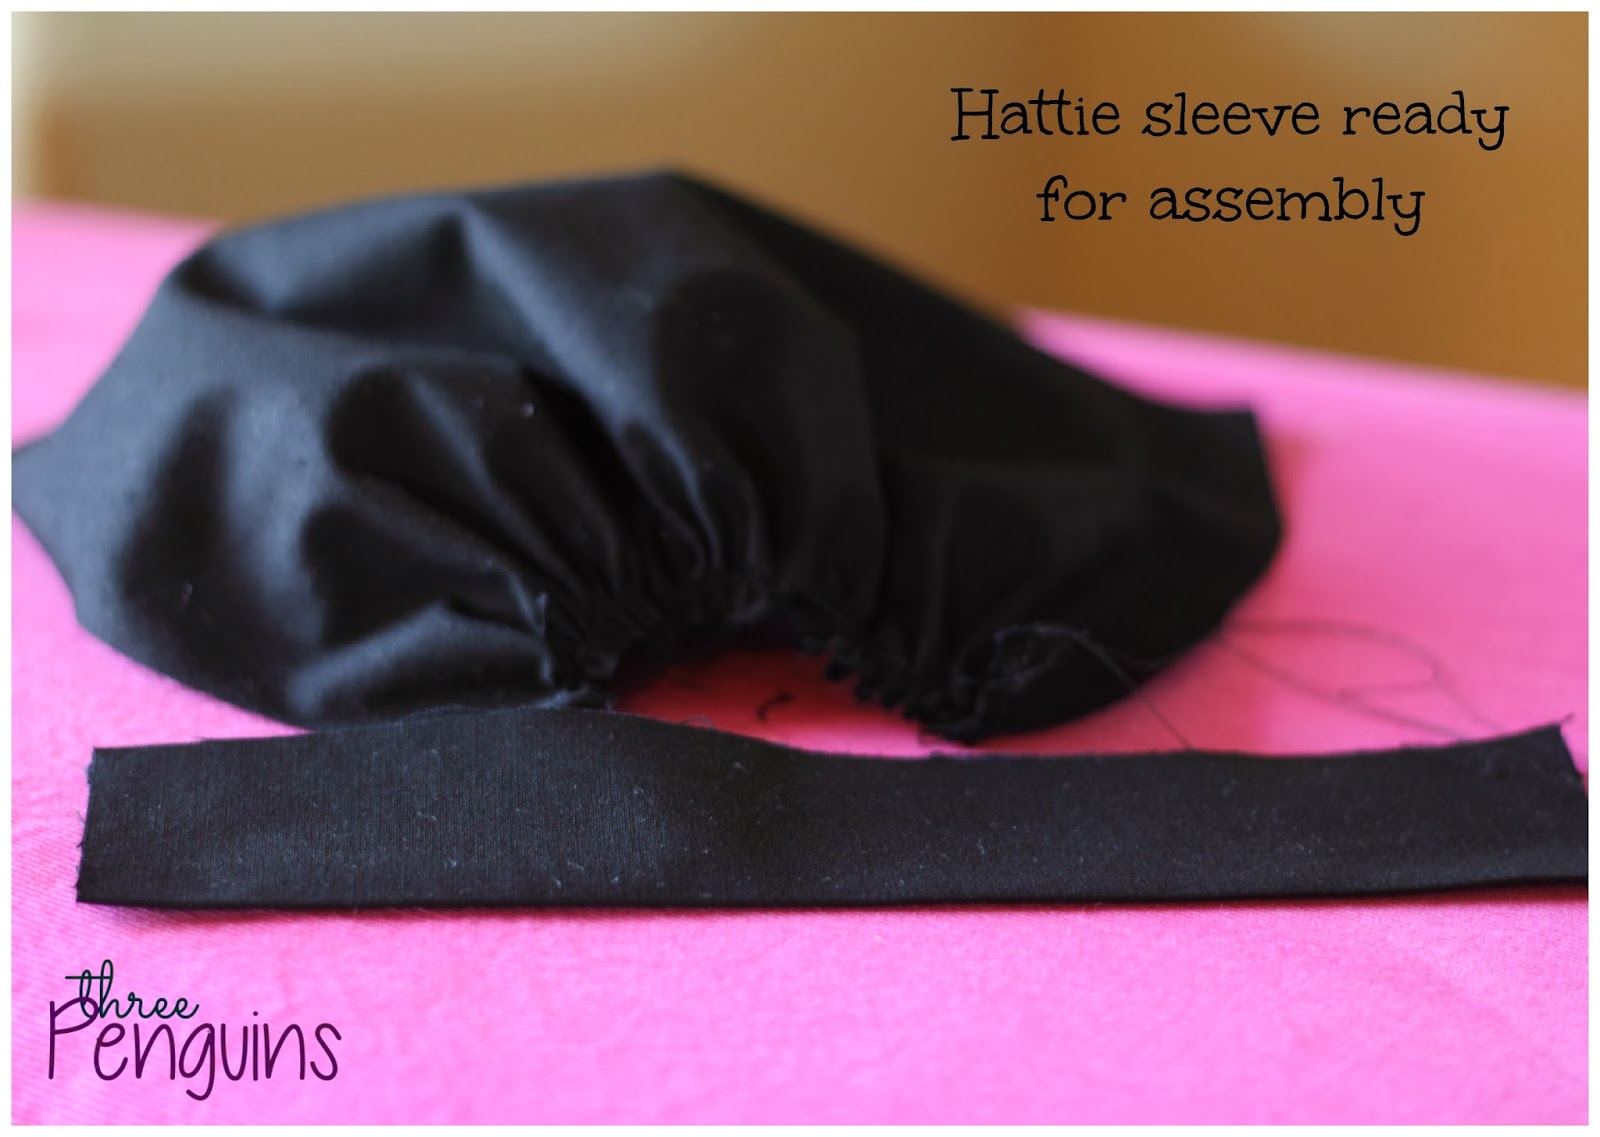
Once you have purchased both your Hattie and Tilly patterns from the Brownie Goose shop, Cut your Hattie sleeves per pattern and construct by gathering and attaching armbands:


Construct your bodice per pattern and flip right sides out. Now I am sure that one of you brilliant ladies can tell me how to get the sleeve sandwiched between my bodice and lining layers but I just couldn’t figure it out this time… so once I flipped right side out this was what my bodice looked like:


I then pinned my Hattie sleeve in place following along the opening of the Tilly bodice like so. Then stitch along this seam and serge the edges if desired and repeat for the other sleeve.


It should now look something like this:


Now pin the sleeves together and stitch starting at the arm bad and sewing down to the armpit.


Turn right side out and then following the directions for attaching a “closed” back skirt and you are done!